About this deal
Some people call them multi-tool brake pliers because of their multiple functionalities. Others call them dual-end pliers because both ends of each plier have a tool for working on a specific type of spring in the drum brake. A good pair of drum brake pliers and a hammer are all you need to do a drum brake job. You do not need other pliers. Ideally, the brake pliers should have all the tools you need to remove or install the different types of springs that hold the drum brake hardware in place. That is why they are called multi tool pliers. The first approach requires you to remove the drum brake shoes first. So, you must start by removing the primary and secondary return springs, the self-adjuster cable, and the brake shoe hold-down springs. This then lets you remove the brake shoes.
The next step is to install the bottom pin but first install the parking brake link with its spring on the right side. Also, set the wheel cylinder properly between the brake shoes at the top and the self-adjuster at the bottom. Now you are set to install the lower spring. Attaching the lower drum brake spring Bite the brake shoe lining with the other jaw. This jaw will act as leverage. You can use a piece of wood underneath to avoid damaging the lining. The Lisle 11260 has only two main downsides. One, the prong is too wide for hooking onto the brake shoe return springs of some US vehicles. This makes the pliers ideal for import cars such as Toyota, Honda, and Subaru among others. Drum brakes are a type of brake system that uses brake shoes to stop a wheel instead of brake pads. They are common on the rear wheels of older cars. Nowadays, most new cars use brake calipers even on rear wheels and only use the drum brake system as an emergency brake. parts of a drum brake system Brake shoes are used in drum brake systems, with the lined shoe pressing against the inside of the drum to stop it moving. The drum is attached to the wheel making it a safe and effective way to make your car stop. Brakes and rear brake shoes are something that are extremely important for your safety and should never be neglected.Attach the brake adjuster cable to the spring pin. Make it go around the cable guide you have just installed in the previous step. Total Tools reserve the right to change or withdraw free delivery at any time. Estimated Delivery Timeframes Brake springs are heavy duty and have a lot of tension in them. So, sometimes they may pop off and jump right onto your face. That is why you should have your goggles on before attempting to remove them. Disassembling drum brakes with brake spring pliers Removing drum brake top springs Once the brake shoe is off, you simply remove the bottom spring by hand. The bad thing about this approach is that you have to disassemble almost all drum brake hardware. Well, that is how to use brake spring multi-tool pliers to remove and install all the springs in the drum brake assembly. You do not need to carry additional pliers or hand tools. But your pliers need to have all the features for working on different springs. Otherwise, you will need an extra pair of pliers such as vise grips along with the brake pliers. But you don’t want that, do you?
Once the slot on the plate and the pin align, stop compressing the spring spring so that it pops off from the pin to release the brake shoe.Lastly, remove the self adjuster cable from the stud by hand. Unhook it from the self-adjuster lever as well and put it aside. And once you get it off, the real challenge begins. There are roughly 5 different springs inside a brake drum that hold different components in place. You must know where each of them goes. And on top of that, know how to remove and return each of them. Otherwise, your effort to do your drum brake might be all in vain. The good thing about this approach is that it eases the tension on the lower spring so you will not need to use any tool to remove it. Total Tools reserve the right to terminate or amend the price guarantee policy at any time without notice. For Further Information Now hook the other end of the secondary return spring onto the spring stud. Use the notched handle end of the brake plier to lever the spring hook and slide it onto the stud.
Unfortunately, these brake pliers are not double-ended. Therefore, you can only use them to remove the brake shoe return springs. For the hold-down springs, you may need to use a pair of vise grips. When you step on the brake pedal, a hydraulic wheel cylinder in the drum brake assembly pushes the shoes outward against the drum. The lining on each shoe rubs against the side of the drum creating friction that stops the wheel from rotating. When you let go of the brake, the return springs pull the brake shoes off the drum and the wheel can rotate freely again. The first thing to look at when buying any pliers is how they are built. Pliers should be strong and sturdy to withstand pressure and abuse. The same applies to brake spring pliers. Good brake pliers should be solid enough to work on the heavy-duty brake springs without bending. At the very least, the pliers should be forged from steel. 2. Multi-tool Besides being heavy-duty, the most outstanding feature of the OTC 7069A brake pliers is their replaceable tip. So, when you break it, you don’t need to buy new pliers. You just replace the tip and continue using the pliers like they were new. This feature makes these pliers so versatileIn this section, I show you how to use brake spring pliers to disassemble or assemble a drum brake system. But first, make sure you put on eye goggles to protect your eyes in case the springs come flying at you accidentally. Attach one end of the primary return spring leading brake shoe. Then use the same notched handle end of the pliers to pull the spring hook and slip it around the anchor stud.
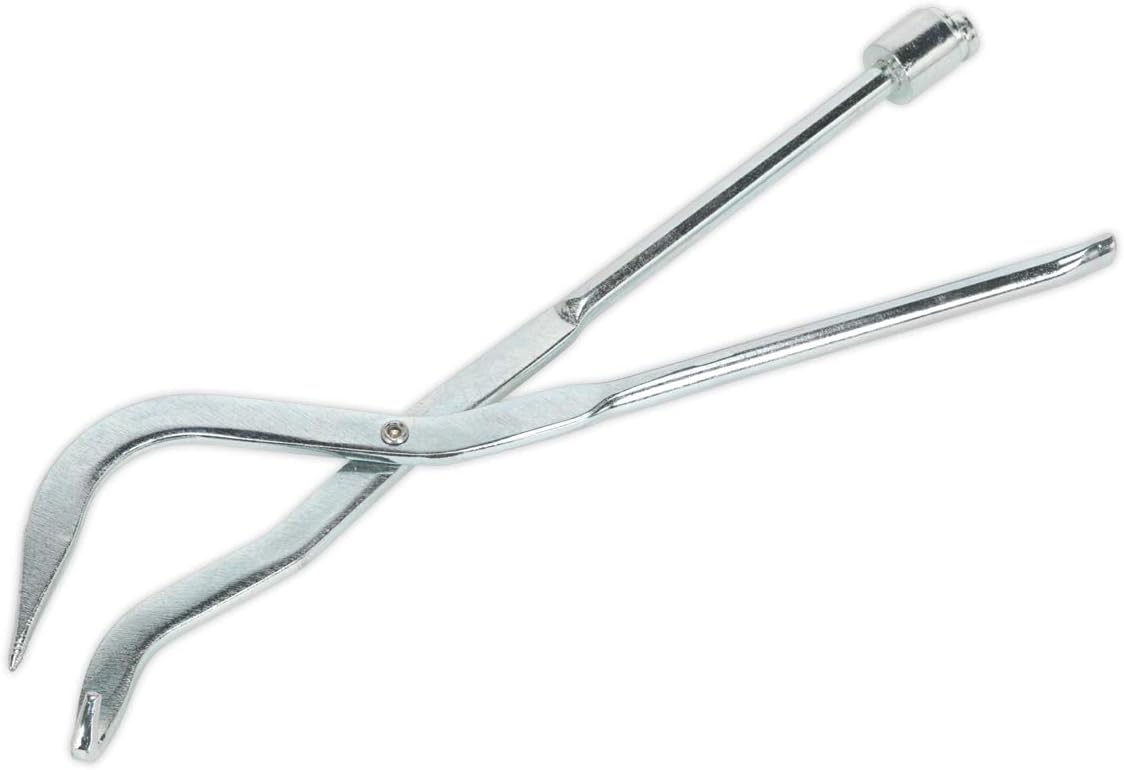
Squeeze the handles of the pliers together to extend the spring. This will pull the spring hook right out of the adjuster plate hole. Typical brake spring pliers have an open hooked jaw for working on the bottom springs. The other jaw is bent so that you can use it as leverage when pulling the bottom spring to hook or unhook it from the brake shoe. If you want a touch of German quality on your brake pliers, you can consider the Hazet 796 brake spring pliers. They are not dual-end pliers. So you cannot use them to remove the brake shoe retainer springs or install the return springs. But they are excellent for removing stubborn return springs from the anchor stud on any car.So, what features should you look for when buying brake spring pliers? Essential Features of the Best Drum Brake Spring Pliers Attach one end of the secondary return spring to the trailing brake shoe. Make sure you put the brake adjuster cable guide underneath. There are two top springs that hold brake shoes together. Their work is to return the brake shoes in position when you let go of the brake pedal. Over time, brake shoe lining wears out and the whole brake shoe needs replacement. Sometimes it is the wheel cylinder or other drum brake hardware that needs replacement. Whichever the case, you cannot avoid dealing with brake springs whenever you are fixing the brake drum hardware. That is why it is nice to have a pair of drum brake spring pliers at hand. What Are Drum Brake Spring Pliers?
Related:
 Great Deal